
Attach a morale patch without sewing: complete 2026 workflow
Instead of fighting a needle through your range bag, attach a hook-backed morale patch to an existing loop panel; if your gear lacks one, use a compatible adhesive-backed loop panel or a purpose-built removable patch carrier. This 2026 workflow shows you how to check the backing, mount the patch, and keep your next joke removable without turning the bag into a glue experiment.
- How to attach morale patch without sewing: press hook backing onto a compatible loop panel.
- Stickthison morale patches suit gun owners who want parody designs rather than plain identification patches.
- Adhesive-backed loop needs compatibility with your gear; ordinary fabric is not automatically a suitable bonding surface.
- A removable patch carrier avoids adhesive on your bag but needs compatible attachment points.
Why this matters
The patch material does not determine the mounting method. The backing does. PVC describes the patch body; hook, loop, adhesive, and plain backing describe what you must connect to your gear.
Stickthison sells parody and morale PVC patches for gun owners and EDC enthusiasts. The joke belongs on the front. The attachment decision happens on the back, where nobody gets extra credit for improvising with whatever tube is rolling around the garage.
Hook-and-loop gives you a removable connection between two mating surfaces. Adhesive-backed loop adds another connection underneath: the bond between the loop panel and your bag. If that bond fails, the patch and panel leave together. Congratulations, you attached the patch perfectly to something that is no longer attached to your bag.
Before you start
- Gather the patch, the intended gear, and a ruler. Inspect the actual backing and measure the usable mounting area, excluding seams, zippers, curved edges, and moving straps.
- Match the mounting materials. Use an existing loop panel, an adhesive-backed loop product explicitly suitable for the substrate, or a removable carrier designed for the attachment points on your gear. Follow the gear and adhesive manufacturers’ cleaning and application instructions.
- Catch the sneaky gotcha: included loop is not necessarily adhesive-backed. A loose loop piece can protect the patch’s hooks during storage without providing a no-sew attachment to your bag. Likewise, rough hook cannot mate with another rough hook surface.
Read the instructions before opening the adhesive. Your range bag should not become the sacrificial test subject for a label you finally read afterward.
Choose your no-sew attachment method
For this 2026 setup, choose the connection your gear already supports before adding anything permanent. An existing loop field is the simplest route because it removes the adhesive compatibility question entirely.
| Method | Best for | What works in its favor | Limitation |
|---|---|---|---|
| Existing loop panel | Range bags, hats, and packs with a dedicated patch field | Removable mounting without adding adhesive | Patch footprint must fit the usable panel |
| Adhesive-backed loop panel | Surfaces explicitly approved by the adhesive manufacturer | Creates a removable patch interface | Bond suitability depends on substrate, preparation, and application instructions |
| Removable patch carrier | Gear with attachment points compatible with the carrier | Avoids bonding adhesive directly to the bag | Adds another component and needs a secure attachment location |
| Direct patch adhesive | A permanent display where both materials are approved | Does not require a loop interface | Makes patch changes and clean removal harder |
Use an existing loop panel first. Choose adhesive-backed loop only after confirming compatibility, not because the packaging says it sticks to “stuff.” Technical precision has left the chat at that point.
Direct adhesive is a different job: bonding the patch itself rather than building a removable mounting surface. This guide favors removable methods so your bag does not have to wear the same punchline forever.
Patch backing and placement
- Inspect the back. Feel for the rough hooks that engage a soft loop field. If a separate loop piece covers them, peel that piece away carefully before mounting.
- Inspect the gear. Look for an actual soft loop panel. Woven bag fabric, webbing, and mesh are not interchangeable with a dedicated loop surface.
- Measure the footprint. Compare the patch’s width and height with the clear mounting area. Keep the patch inside the usable field rather than bridging a zipper or hanging over an edge.
- Dry-fit the location. Hold the patch where you want it, then open nearby pockets and operate adjacent straps. Move it if it interferes with normal use.
Expected result: You know which mating surface the patch needs, and the proposed location leaves the gear usable.
Do this check even when the patch looks small. A compact design placed across a moving strap is still in the wrong spot. Your bag already has enough problems without being unable to open because a meme appointed itself zipper supervisor.
Existing loop-panel mounting
- Clear the contact surfaces. Remove loose lint, hair, and debris from the loop field and hook backing. Use a gentle method that does not tear the loops or damage the hooks.
- Align the patch. Place the hook-backed patch fully inside the loop field, keeping its orientation readable when the bag is carried or set down.
- Press across the whole backing. Apply pressure over the center and edges so the hooks engage the loops throughout the contact area.
- Check the connection. Gently tug at the edge and move the bag through normal handling. Reposition the patch if an edge overhangs or a nearby strap catches it.
Expected result: The patch stays engaged during ordinary handling, the edges sit within the panel, and the surrounding gear works normally.
Do not judge the attachment by how impressively it sounds when you peel it. Check the actual contact area. A patch hanging halfway outside the loop field has less engaged backing, regardless of how tactical the ripping noise sounds.
This is the straightforward 2026 answer for gear that already has a patch field: inspect, align, press, and check. No iron. No needle. No household chemistry audition.
Added loop-panel mounting
- Identify the substrate. Check whether the surface is fabric, coated fabric, plastic, or another material. Select adhesive-backed loop whose instructions explicitly cover that surface and intended use.
- Choose the location. Use a supported area that accommodates the patch without crossing seams or obstructing gear. Check the adhesive instructions for restrictions on flexible or textured surfaces.
- Prepare the surface as directed. Follow both the gear’s care instructions and the adhesive product’s cleaning requirements. Test any approved cleaner in an inconspicuous area first.
- Fit the loop panel. If the product permits trimming, size it for the available space before removing the release liner. Keep the patch footprint within the loop field.
- Apply and wait as instructed. Follow the specified pressure, temperature, and bonding time. Leave the patch off until the adhesive instructions permit loading the panel.
- Attach and verify. Press the hook-backed patch onto the loop field, then check both the hook-and-loop engagement and the bond underneath.
Expected result: The loop panel remains attached to the approved substrate, and the patch mounts without lifting the panel.
Do not invent a universal waiting time. Adhesive products have different application requirements. “It feels sticky” is not a cure schedule; it is how an impatient range-goer becomes an unpaid adhesive tester.
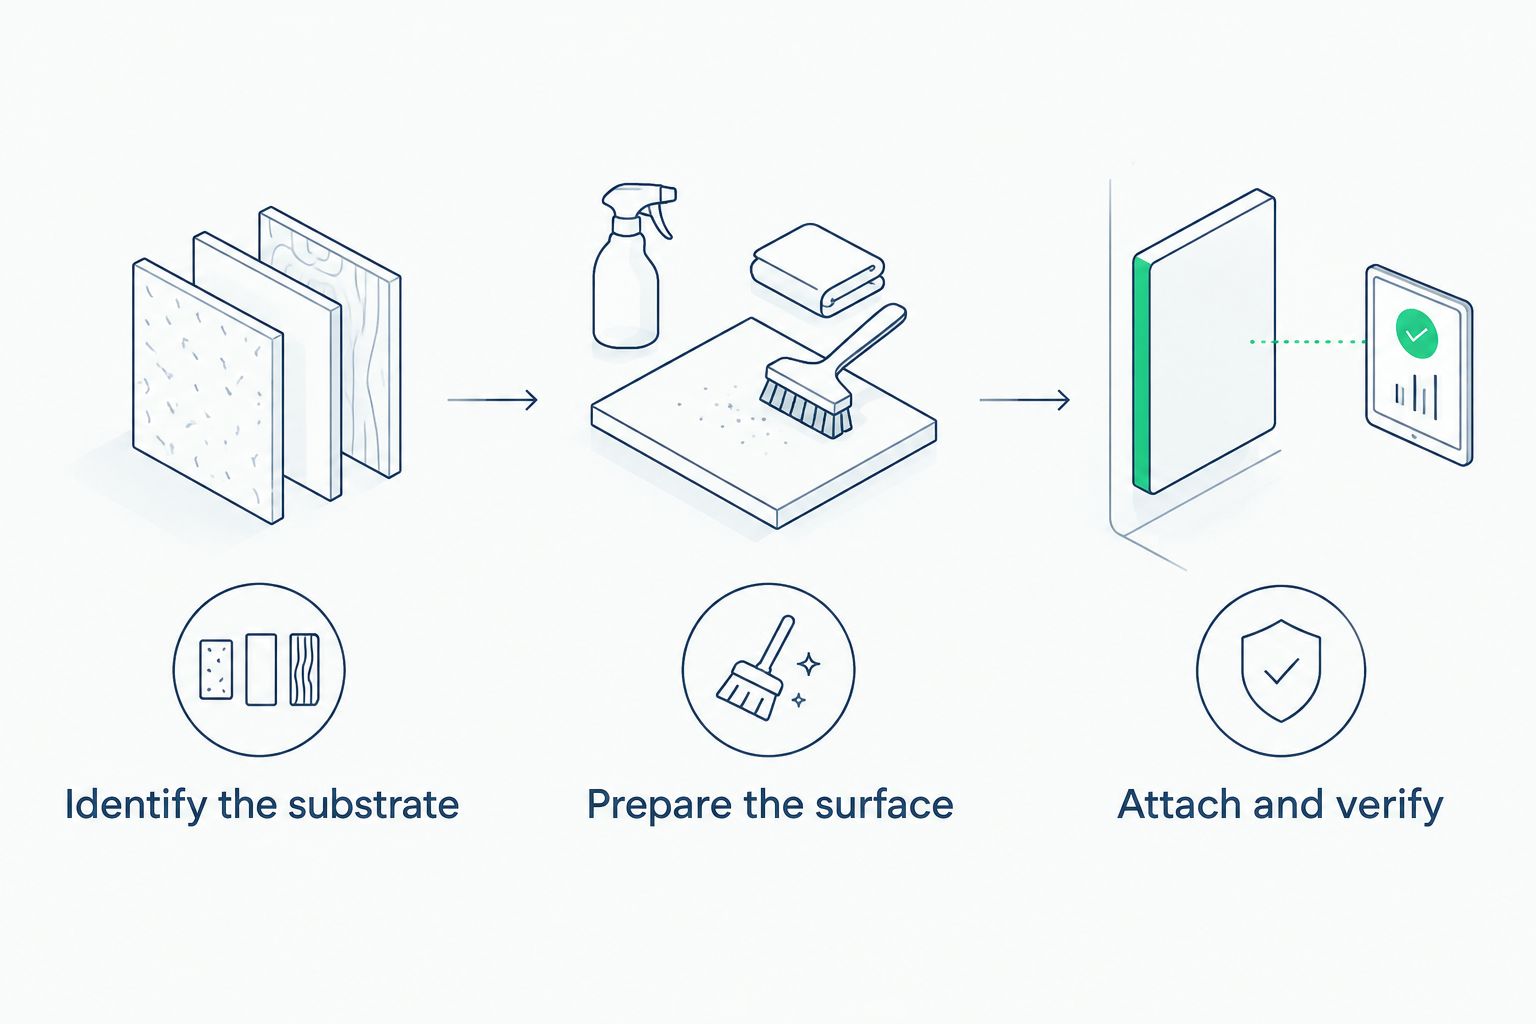
Retention check
- Inspect both interfaces. With an existing loop field, check patch-to-panel engagement. With added loop, also check panel-to-gear adhesion.
- Operate the gear. Open pockets, adjust handles, and move straps through their usual positions. Relocate the patch if normal use repeatedly catches an edge.
- Remove the patch correctly. Support the loop panel and peel the patch back gradually rather than yanking the entire assembly straight away from the bag.
- Stop if the base lifts. If an adhesive-backed panel moves with the patch, remove the load and address the failed bond according to the adhesive instructions.
Expected result: You can use the gear and remove the patch without pulling its mounting surface loose.
A successful first press is not the whole test. Removal matters too, especially when the point of the setup is changing patches instead of permanently committing your bag to one mood.
Pick a patch that fits the mounting field
These Stickthison morale patches have explicit hook-and-loop backing information in their product descriptions. For a 2026 layout, start with the stated dimensions and verify the actual patch against your gear before mounting.
| Patch | Stated size and backing | Best for | Advantage | Limitation |
|---|---|---|---|---|
| Not Having A Good Time Patch | 3 inches wide; hook/loop backing | A range-bag mood report | Stated backing matches the loop-panel workflow | Width alone does not establish the complete footprint |
| Stares In Violent Disgust Patch | 3 × 1.5 inches; hook/loop backing | A shallow rectangular mounting field | Both dimensions are stated | Still needs a compatible loop surface |
| Kingdom of Heaven patch | 3 × 2 inches; hook backing | A rectangular field with enough height | Stated dimensions simplify the fit check | Needs more vertical space than the 1.5-inch-tall option |
Stickthison is best for gun owners who want parody morale patches, not a substitute for the mounting hardware their gear needs. Choose the design you enjoy, then verify the backing and footprint. Buying a better joke does not make hook backing stick to bare nylon.


Swap patches whenever your mood changes
A removable mounting surface lets you change the design while leaving the underlying setup alone. For your 2026 rotation, give each receiving panel the same inspection you gave the first one.
- Support the loop field while peeling off the current patch.
- Check the replacement patch’s footprint; matching backing does not mean matching dimensions.
- Remove debris, align the replacement, and press across the entire contact area.
- Cover unused hook backing with a compatible loop piece during storage to keep it from snagging nearby fabric.
If the bag has no loop field and no approved adhesive option, use a purpose-built removable patch carrier compatible with its attachment points. Follow the carrier’s routing and fastening instructions, mount the patch to its loop face, and check for swinging, snagging, or blocked access.
The carrier adds bulk, but it avoids guessing whether adhesive will bond to the bag. Do not substitute a loose loop backing square and wishful thinking for an actual attachment system.
Troubleshooting
The patch will not engage the panel
Check whether both surfaces are hook, both are loop, or a protective loop piece still covers the patch’s hooks. Expose the hook backing and pair it with a compatible loop field. Plain bag fabric is not the missing half of the fastener.
The patch grips, but the loop panel peels off
The hook-and-loop connection is working; the adhesive connection underneath is failing. Stop pulling on it, check substrate compatibility and application instructions, and replace the setup if the surface is unsuitable. Adding more glue without checking compatibility repeats the original mistake.
The patch corners keep catching
Check for overhang, nearby straps, and a mounting location that bends sharply in use. Reposition within the loop field or choose a smaller footprint. More pressing does not fix a corner sticking into a zipper path.
The hook-and-loop connection feels weak
Inspect for trapped lint, dirt, flattened hooks, and worn loops. Clean gently, reseat the patch, and replace damaged fastening material when cleaning does not restore engagement. Check the panel itself rather than automatically blaming the patch.
The bag coating reacts to the cleaner or adhesive
Stop application and follow the gear manufacturer’s care guidance. Do not escalate to a stronger solvent. Switch to a compatible removable carrier if bonding is not appropriate for that surface.
Customize your workflow
Build the mounting layout around how you actually use the gear. Keep decorative patches away from labels you need to read, pocket openings you need to reach, and straps you need to adjust.
For a collection, group patches by footprint before rotating them between hats, bags, and display panels. A design that fits your range bag does not automatically fit your cap. Decide which panels can accept each patch, then swap without rediscovering geometry every weekend.
FAQ
What's the easiest way to attach a morale patch without sewing?
Press a hook-backed morale patch onto an existing compatible loop panel. Check that the entire backing fits inside the field and that the patch does not obstruct pockets or straps.
Can I attach a morale patch to a backpack without a loop panel?
Use a compatible adhesive-backed loop panel or a purpose-built removable patch carrier. Adhesive requires explicit substrate compatibility; a carrier requires compatible attachment points.
Does PVC mean a morale patch is iron-on?
No, PVC describes the patch material, not its attachment method. Use heat only when the specific patch and receiving item explicitly permit that method.
Can I glue hook-backed patches directly to my range bag?
Direct bonding requires an adhesive approved for both materials and makes removal harder. A compatible loop panel preserves the removable hook-and-loop connection.
Is the loose loop backing included with a patch self-adhesive?
A loose loop piece is not automatically self-adhesive. Check for an identified adhesive backing and application instructions rather than assuming it can bond to your gear.
How long should I wait before using an adhesive-backed loop panel?
Follow the bonding time specified by the adhesive manufacturer. Application pressure, temperature, and loading instructions belong to that particular product, not a universal patch-installation timetable.
How do I change a patch without peeling the loop panel off?
Support the loop panel and peel the patch back gradually. If the panel lifts from the gear, stop and address the mounting bond before attaching another patch.
One last thing
The most useful inspection happens while removing the patch, not admiring it. Supporting the loop field during removal reveals whether the base is secure and keeps the patch swap from becoming a panel-removal exercise. Your bag can survive a change of attitude without needing reconstructive arts and crafts.


Comments