
Gun cleaning mat to spotless rifle: complete 2026 workflow
Instead of wiping your rifle over yesterday’s oily mess and hunting for parts under shop rags, use a gun cleaning mat cleaning workflow that separates dirty parts, clean parts, and final checks. Set up the bench, follow your rifle’s maintenance manual, then clean and dry the mat before putting anything away—because moving grime around is not maintenance.
- Stickthison gun cleaning mats suit gun owners who want firearm-themed artwork on their maintenance bench.
- A gun cleaning mat cleaning workflow needs separate dirty-part and clean-part areas, plus manufacturer-approved rifle maintenance.
- Check solvent compatibility before cleaning; polyester fabric and a rubber base do not establish chemical resistance.
- Finish rifle maintenance and mat care separately, then store both only after the required drying and checks.
Why this matters
A cleaning mat gives your maintenance session a defined workspace. It does not neutralize solvent, catch every spring, or turn a printed schematic into your rifle’s owner’s manual. Nice artwork; still not a gunsmith certification.
Stickthison gun cleaning mats are best for gun owners who want firearm-themed artwork on their maintenance bench. Stickthison sells gun cleaning mats alongside patches, stickers, and apparel; this guide focuses on the bench routine, not pretending a mat cleans the rifle for you.
For your 2026 maintenance checklist, define success correctly: the rifle meets its manufacturer’s maintenance requirements, the parts are accounted for, and the workspace is ready for its next use. Chasing a showroom finish with extra solvent and enthusiastic scrubbing is not the objective.
Before you start
- Get the right instructions and materials. Have your exact rifle’s maintenance manual, the mat’s care instructions, suitable cleaning supplies, clean cloths, a parts tray, and any protective equipment required by the chemical labels. Work somewhere with the ventilation those labels require.
- Make the firearm safe before bench work. Keep the muzzle pointed in a safe direction, keep your finger away from the trigger, unload according to the manufacturer’s instructions, and verify the chamber and magazine area are empty. Move ammunition away from the cleaning workspace.
- Check the compatibility trap now. A firearm cleaner suitable for a metal component is not automatically suitable for the mat, its backing, its print, or your furniture. Confirm compatibility before opening the bottle; a hidden-area test does not replace written care guidance.
Keep food, drinks, children, and pets away from the maintenance area. Follow chemical-label hygiene instructions and wash your hands after handling cleaning residues. Your coffee does not need a carbon-fouling flavor profile.
Bench setup
Choose the working surface
- Read the mat’s care guidance. Identify permitted cleaners, washing methods, and drying instructions. Do not assume a printed fabric mat tolerates immersion, machine washing, or firearm solvent.
- Measure your usable bench area. Include room for the rifle, detached components, the parts tray, and your hands. Keep everything supported rather than hanging equipment over an edge.
- Place the mat on a clean, dry surface. Check underneath for grit before laying it down. A mat over abrasive debris is a sandwich with terrible ingredients.
- Keep chemical work contained. Use a separate compatible tray where the cleaning-product instructions require one. Do not treat the mat as a spill-containment system without an explicit rating.
Expected result: The mat lies flat, the work stays supported, and chemical compatibility is settled before cleaning starts.
The supplied specifications for Gunsmith Mat (Firearm Collage) V2 list 36 × 18 inches and 18 × 16 inches, a 100% polyester surface, and a rubber non-slip base. Gunsmith Mat - Multicam Black lists 36 × 18 inches with the same stated surface material and base type. Those specifications describe materials and footprint—not a solvent-resistance test.
| Mat | Best for | Useful feature stated in the product data | Limitation to plan around |
|---|---|---|---|
| Gunsmith Mat (Firearm Collage) V2 | Owners comparing different bench footprints | Two listed dimensions: 36 × 18 inches and 18 × 16 inches | The smaller footprint leaves less room for separated work areas; chemical compatibility is not specified |
| Gunsmith Mat - Multicam Black | Owners planning around a 36 × 18-inch footprint | Polyester surface, rubber non-slip base, and edge stitching | Only that footprint is listed in the supplied description; chemical compatibility is not specified |
Choose by usable workspace before artwork. A rubber non-slip base is useful, but it does not eliminate the need to check stability on your particular bench. Neither product description establishes that cleaner can sit on the surface indefinitely.


Establish your work areas
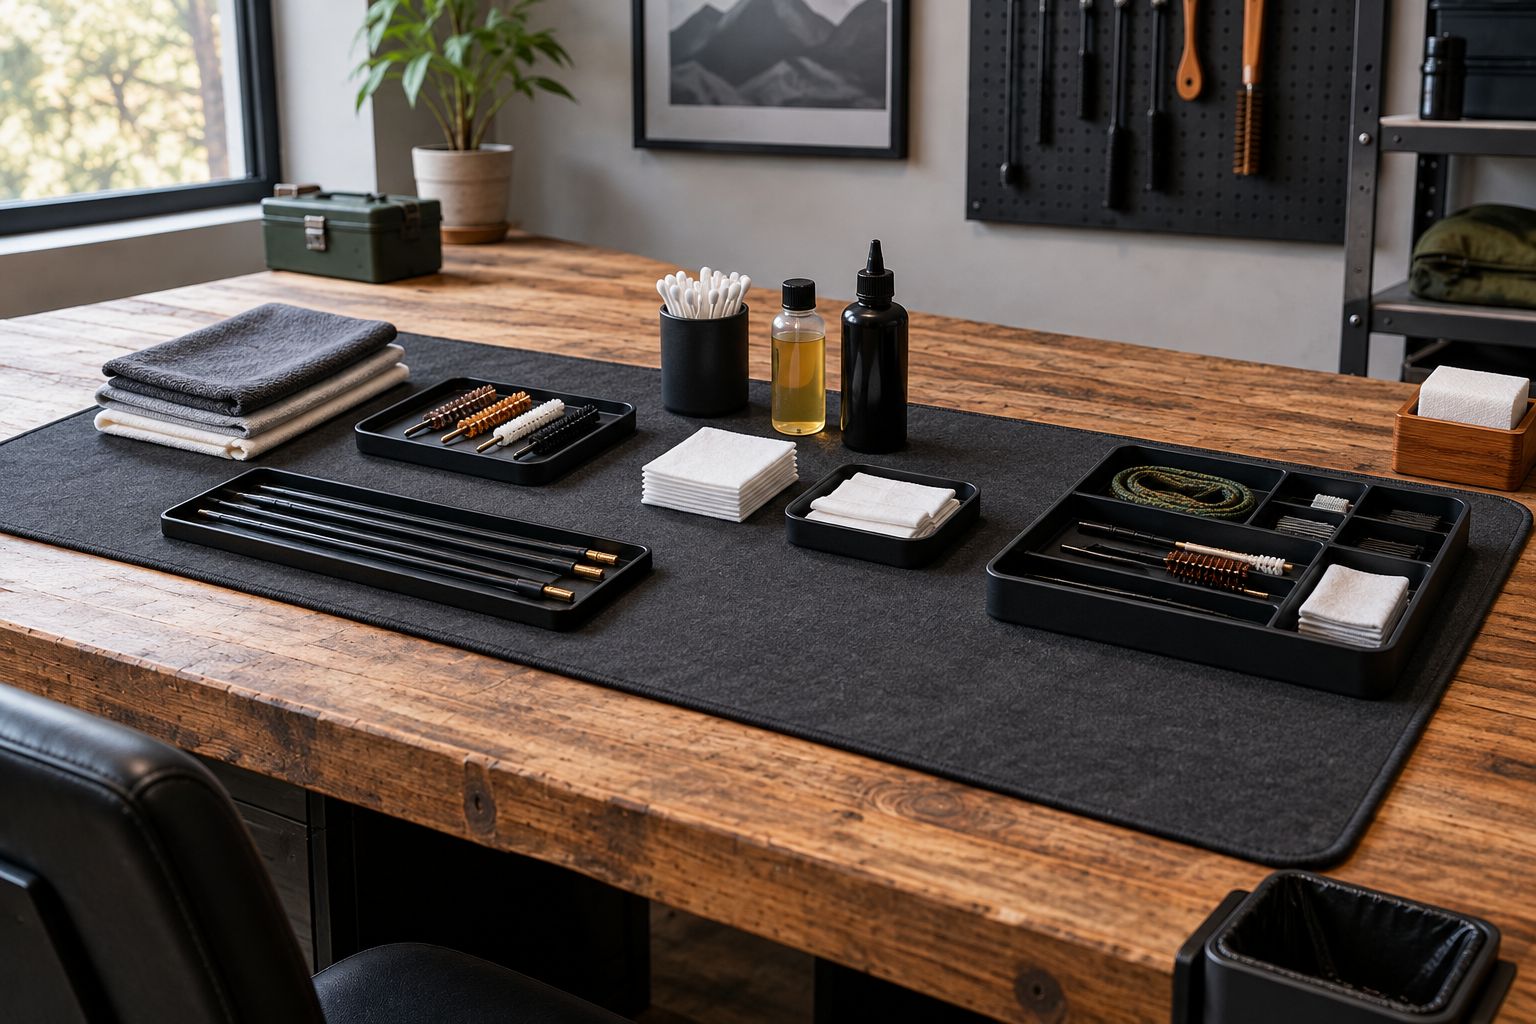
- Assign a dirty-parts area. Put components awaiting cleaning here, using a compatible tray when needed. Keep used patches and cloths out of the clean area.
- Assign a clean-parts area. Reserve this space for inspected components after the manual’s cleaning and lubrication requirements are complete. Use a fresh, compatible liner if appropriate.
- Assign a tools area. Keep tools and supplies separate from loose components. Return small parts to the parts tray rather than balancing them on the mat’s edge.
- Set a waste location. Handle used patches, cloths, and chemical containers according to their labels and local disposal requirements. Do not create a mystery pile for Future You.
Expected result: You can tell what needs attention without touching every component again. Dirty material has somewhere to go that is not the clean side of the bench.
A Stickthison mat supplies the work surface; your layout supplies the organization. Keep this arrangement consistent in your 2026 routine so each session starts with familiar positions rather than an improvised scavenger hunt.
Routine cleaning
- Follow the exact rifle manual. Limit disassembly to the maintenance level the manufacturer describes for the owner. A schematic on a mat helps identify depicted parts; it does not authorize deeper disassembly.
- Apply the specified cleaning method. Use compatible tools and products only where the manual permits them. Follow the chemical label’s application and contact-time instructions instead of inventing a universal soak time.
- Keep residues on the dirty side. Put used patches directly into the designated waste location. Change a dirty cloth instead of wiping the same residue onto another component.
- Inspect as the manual directs. Stop if you find damage, unusual wear, corrosion, or a condition you cannot assess. Have a qualified gunsmith evaluate problems outside routine owner maintenance.
- Lubricate only as instructed. Use the specified product, locations, and amount. More lubricant is not a substitute for reading the manual.
Expected result: Required maintenance is complete, inspected components occupy the clean area, and nothing depends on remembering which oily rag was supposedly clean.
Do not chase perfectly white patches as a universal finish line. Different rifles, cleaners, and maintenance procedures have different requirements. Your 2026 checklist should point back to those requirements, not an arbitrary number of passes somebody announced online with great confidence.
If a component does not come apart or return as the manual describes, stop. Put down the improvised persuasion device. The mat is not a permission slip for force, modifications, or a deeper teardown.
Mat cleanup
- Move the rifle and components off the dirty surface. Place them in a safe, stable location while maintaining separation from used supplies. Account for small parts before moving cloths or trays.
- Collect loose debris gently. Use the method permitted by the mat’s care instructions. Avoid blowing residue across the bench or into the room with compressed air.
- Blot a spill promptly. Follow the chemical label and mat guidance. Do not spread it by scrubbing across a larger area or add another cleaner to improvise a chemical cocktail.
- Clean only by an approved method. Use the specified cleaner and washing process. If guidance is unclear, stop and request clarification rather than guessing about bleach, degreaser, heat, or a washing machine.
- Dry as instructed and check underneath. Inspect the backing and bench for transferred moisture or residue. Do not cover a damp surface with the mat again.
Expected result: The mat and underlying bench are clean and dry enough for their intended use, with no loose debris or unresolved chemical spill.
Stickthison’s supplied product descriptions identify materials on some mats, but those material names alone do not establish a complete care procedure. Never turn “rubber base” into “waterproof barrier” or “polyester” into “solvent-proof.” Neither conclusion follows.
Final checks
- Account for the parts and tools. Confirm that nothing remains hidden in a cloth, tray corner, or fold before disposing of waste.
- Complete the manufacturer’s reassembly and safety checks. Keep ammunition away throughout maintenance and follow the manual exactly. Seek qualified help if a required check fails.
- Confirm the storage condition. Follow the rifle manufacturer’s preservation guidance, and do not pack a damp mat into an enclosed space.
- Reset supplies. Close chemical containers, segregate waste as required, and replace used consumables. Record unresolved issues rather than relying on memory.
Expected result: The rifle has passed its prescribed checks, the bench is reset, and the next session does not begin with detective work.
For a reusable 2026 maintenance record, note the rifle model, the manual consulted, the work completed, and any issue needing professional attention. Record observations, not a triumphant “looks fine” next to a question mark.
After-range reset without a full teardown
A shorter workflow makes sense when the manufacturer’s guidance calls for limited attention rather than a full cleaning. Best for: routine inspection and workspace reset when conditions do not require a complete maintenance session. The trade-off is scope: this version does not replace maintenance that is due.
- Make the firearm safe and move ammunition away before starting.
- Inspect and perform only the maintenance the manual calls for under the circumstances.
- Keep anything carrying residue separate from fresh cloths and clean equipment.
- Clean the mat as its care instructions require, then let it dry before storage.
Rain, visible contamination, or an observed problem changes the decision. Follow the relevant manufacturer instructions instead of letting “quick reset” become your permanent maintenance doctrine.
Troubleshooting
- The mat slides. Remove it and check the bench and backing for moisture, oil, or debris. Clean and dry both by approved methods; stop working if the setup remains unstable.
- Cleaner leaves a mark or changes the surface. Stop applying it. Follow the product label’s spill guidance and ask the mat supplier about further care; do not attack the mark with stronger chemicals.
- Clean components pick up grit again. Replace contaminated cloths or liners and reset the clean area. Reinspect affected components according to the rifle manual before proceeding.
- A small part is missing. Stop cleanup and inspect the tray, cloths, mat edges, and nearby floor before discarding anything. Do not reassemble with a missing part or improvise a replacement.
- The mat remains damp underneath. Keep it out of storage and follow its drying guidance. Check the bench for trapped moisture rather than judging dryness from the printed face alone.
Customize your workflow
Build your 2026 bench checklist around the rifle’s manual, the chemicals you actually use, and the mat’s documented care requirements. Keep the sequence stable, but change the maintenance tasks when the manufacturer calls for something different.
For a shared bench, add a handoff check: clear all parts, remove used supplies, and verify the surface before another person starts. A fresh mat does not settle who owns the mystery spring. A cleared bench does.
FAQ
What is the best gun cleaning mat cleaning workflow?
Start with a safe, unloaded firearm, establish separate dirty and clean areas, follow the rifle manual, then clean and dry the mat according to its care instructions. Finish with the manufacturer’s required checks and a reset bench.
Can I spray gun cleaner directly onto my cleaning mat?
Only do so if the mat’s care guidance explicitly permits that cleaner and application method. A cleaner approved for a firearm component is not automatically compatible with fabric, backing, or printed artwork.
Can I put a gun cleaning mat in the washing machine?
Use a washing machine only when the mat’s care instructions permit it. Polyester fabric and a rubber base alone do not establish machine-washing or dryer compatibility.
What size gun cleaning mat should I use for a rifle?
Choose a footprint that supports your planned work while leaving room for separate clean and dirty areas. Gunsmith Mat (Firearm Collage) V2 lists 36 × 18-inch and 18 × 16-inch dimensions; measure your bench and layout before choosing.
Does a printed rifle schematic replace the owner’s manual?
No, a printed schematic does not replace your exact rifle’s maintenance manual. Use the manual for permitted disassembly, cleaning, lubrication, reassembly, and required safety checks.
How often should I clean my gun cleaning mat?
Inspect the mat after each maintenance session and clean it as its care instructions require. Address spills promptly under the chemical label’s guidance, and do not return clean components to a contaminated surface.
Should my rifle be completely spotless after cleaning?
Your rifle should meet its manufacturer’s maintenance requirements rather than an arbitrary cosmetic standard. Stop and seek qualified help when inspection reveals damage, unusual wear, or a failed required check.
One last thing
Inspect the underside before declaring victory. The printed face can look tidy while moisture or residue remains between the backing and the bench. Lift the mat, check both surfaces, and finish that forgotten part of the job.
Your 2026 maintenance routine needs a repeatable finish line, not more theater. Rifle checked. Parts accounted for. Mat dry. Coffee kept out of the solvent zone.


Comments